Swing Browser (Networking)
Run a Java application with Internet connection
This tutorial uses CheerpJ and Tailscale to run a web browser written in Java and give it access to the internet. The same approach works for any application running in CheerpJ that needs wider network access.
For how CheerpJ and Tailscale work together, see the networking guide.
Prerequisites

- Download
SwingHTMLBrowser.jar - A local HTTP server that supports Range requests, such as
npx http-server - A text editor to create and edit an HTML file
- A modern browser such as Chrome, Edge, Firefox or Safari
- A Tailscale account (see step 3)
1. The Java application
The application is a small HTML browser written in Java with Swing. If Java is installed on your computer you can run the JAR locally to see how it behaves; this step is optional.
Type the full URL of a website in the input field and press Enter to load the page. Swing’s HTML support is limited to old versions of HTML, so most sites do not display as they do in a modern browser.
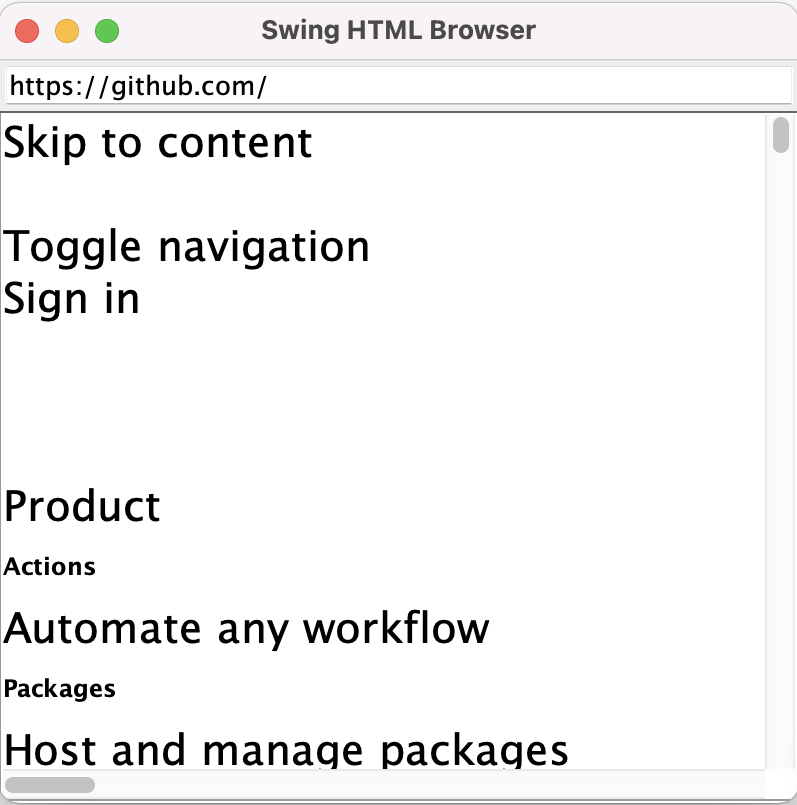
Run on the desktop, the page loads because the application uses the computer’s own network connection.
2. Run the application in the browser with CheerpJ
Next, run the same JAR in the browser with CheerpJ, without a Java installation. The steps are the same as in Run a Java app.
2.1 The project files
Create a project directory, put the JAR in it and create an HTML file next to it:
└──browserTutorial ├── SwingHTMLBrowser.jar └── browser.htmlAdd this code to browser.html:
<!doctype html><html lang="en"> <head> <meta charset="utf-8" /> <title>Browser</title> <script src="https://cjrtnc.leaningtech.com/5.0/loader.js"></script> </head> <body> <script> (async function () { await cheerpjInit(); cheerpjCreateDisplay(800, 600); await cheerpjRunJar("/app/SwingHTMLBrowser.jar"); })(); </script> </body></html>What’s going on?
- The script tag in the
<head>loads CheerpJ. cheerpjInitinitialises CheerpJ.cheerpjCreateDisplaycreates an 800x600 display that holds all Java windows.cheerpjRunJarruns the application.SwingHTMLBrowser.jarnames its main class in its manifest./app/is the virtual file system mount point for the root of the web server the page is loaded from.
2.2 Serving the application
Serve the project directory with an HTTP server, such as http-server :
npx http-server -p 8080Open http://127.0.0.1:8080/browser.html. The Java browser runs in the page. Type https://github.com in its address field and press Enter. Nothing loads, and the browser console shows this error:

Next, load a page from the same server. Add this file to the project directory:
<!doctype html><html lang="en"> <head> <meta charset="utf-8" /> <title>Hello world</title> </head> <body> <h1>Hello from the same origin!</h1> </body></html>In the Java browser, type http://127.0.0.1:8080/hello.html, using the same host and port as the page itself.
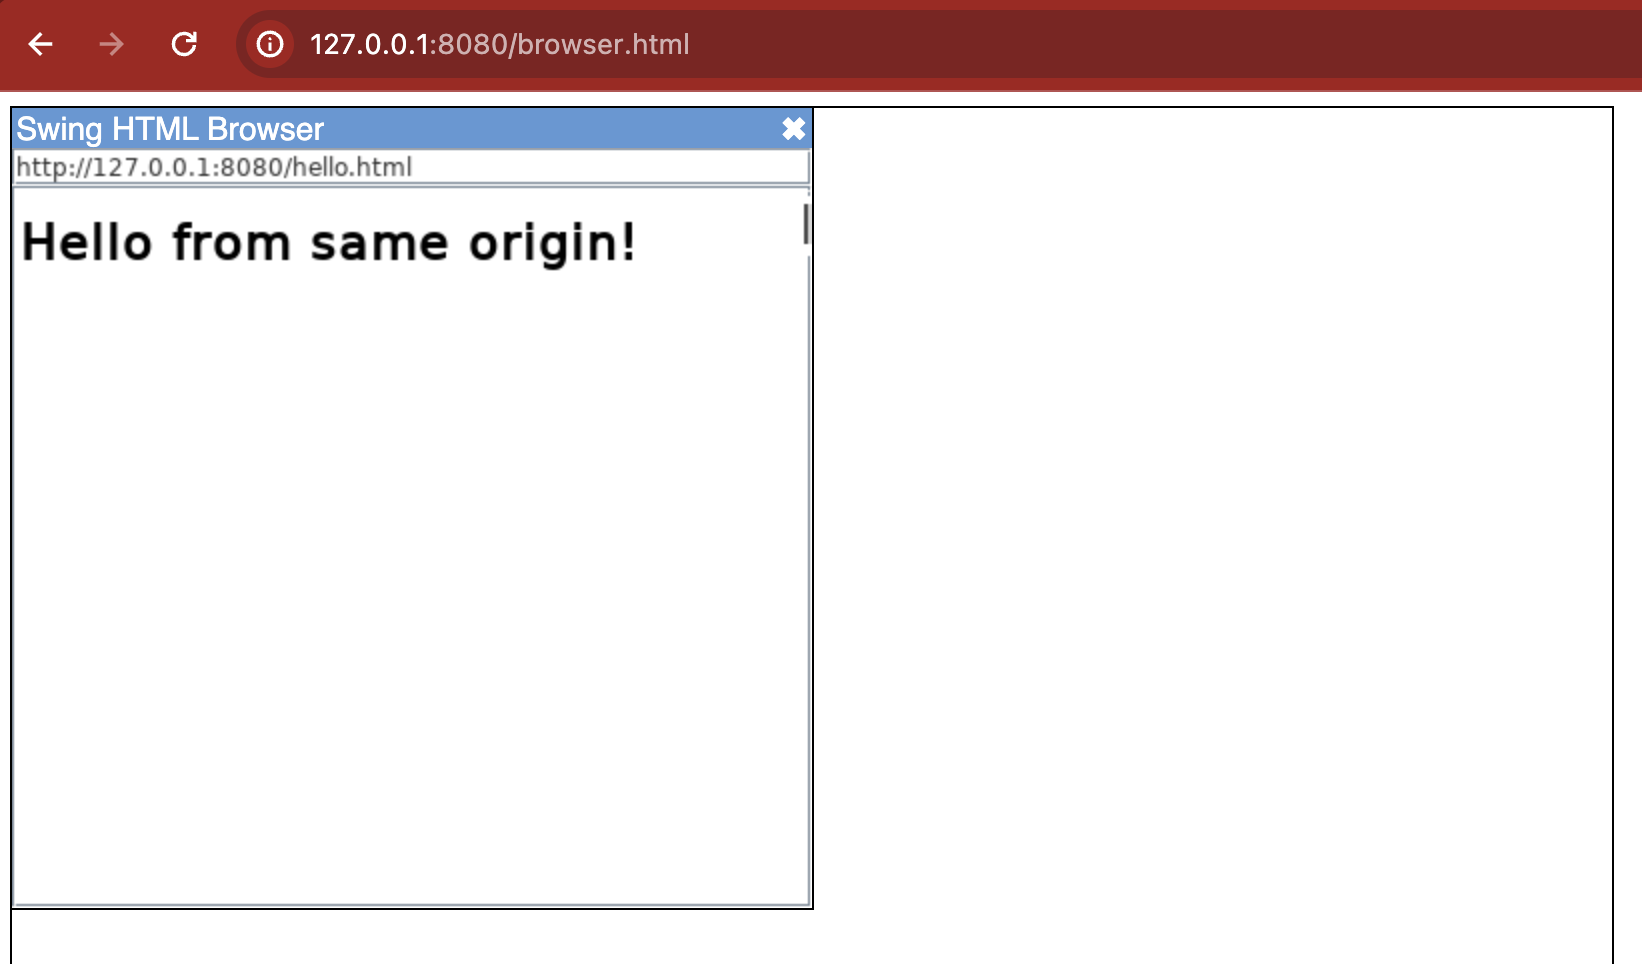
Without a Tailscale network, CheerpJ makes HTTP(S) requests with the browser’s fetch, so the same-origin policy and CORS apply. A page on the same origin loads; https://github.com does not allow cross-origin requests from your page, so the request fails. This keeps the application isolated from the wider internet.
To load pages from other sites, the application needs a network connection that is not limited by the browser.
3. Connect the application to the internet
CheerpJ connects to the internet through a Tailscale network (a tailnet in Tailscale terminology). A tailnet is a VPN made of the machines and users (nodes) connected to it. CheerpJ joins it with WireGuard over WebSockets.
By default a tailnet is isolated from the internet, so it needs an exit node: a machine that routes the tailnet’s internet traffic.
3.1 Set up Tailscale
To create a tailnet with an exit node:
- Create an account and log in to the Tailscale portal.
- Install Tailscale on your computer. This computer becomes the exit node.
- Set it up as an exit node by following the Tailscale exit node guide.
3.2 Authenticate your Java application
The application joins the tailnet with an auth key.
- Generate an auth key in the Tailscale admin console. For this tutorial, use an ephemeral, single-use key.
- Pass the key to
cheerpjInitwith thetailscaleAuthKeyoption inbrowser.html:
await cheerpjInit({ tailscaleAuthKey: "PasteYourKeyHere",});4. Final test
Reload the page and load https://www.google.com/ or https://www.github.com/ in the Java browser. The site loads through the exit node.
The application appears as a node in the Tailscale admin console, where you can monitor its connections.
View full source code on GitHub
SecurityThis setup is for learning only. An auth key in the page source can be read by anyone who loads the page, and an exit node gives every node on the tailnet access to the internet through your computer. In production, manage auth keys, exit nodes and access controls for your tailnet with care; Leaning Technologies is not responsible for how your network is administered. You can also run your own control server with Headscale.