Server-Client (Networking)
Communication between two Java apps using CheerpJ and Tailscale.
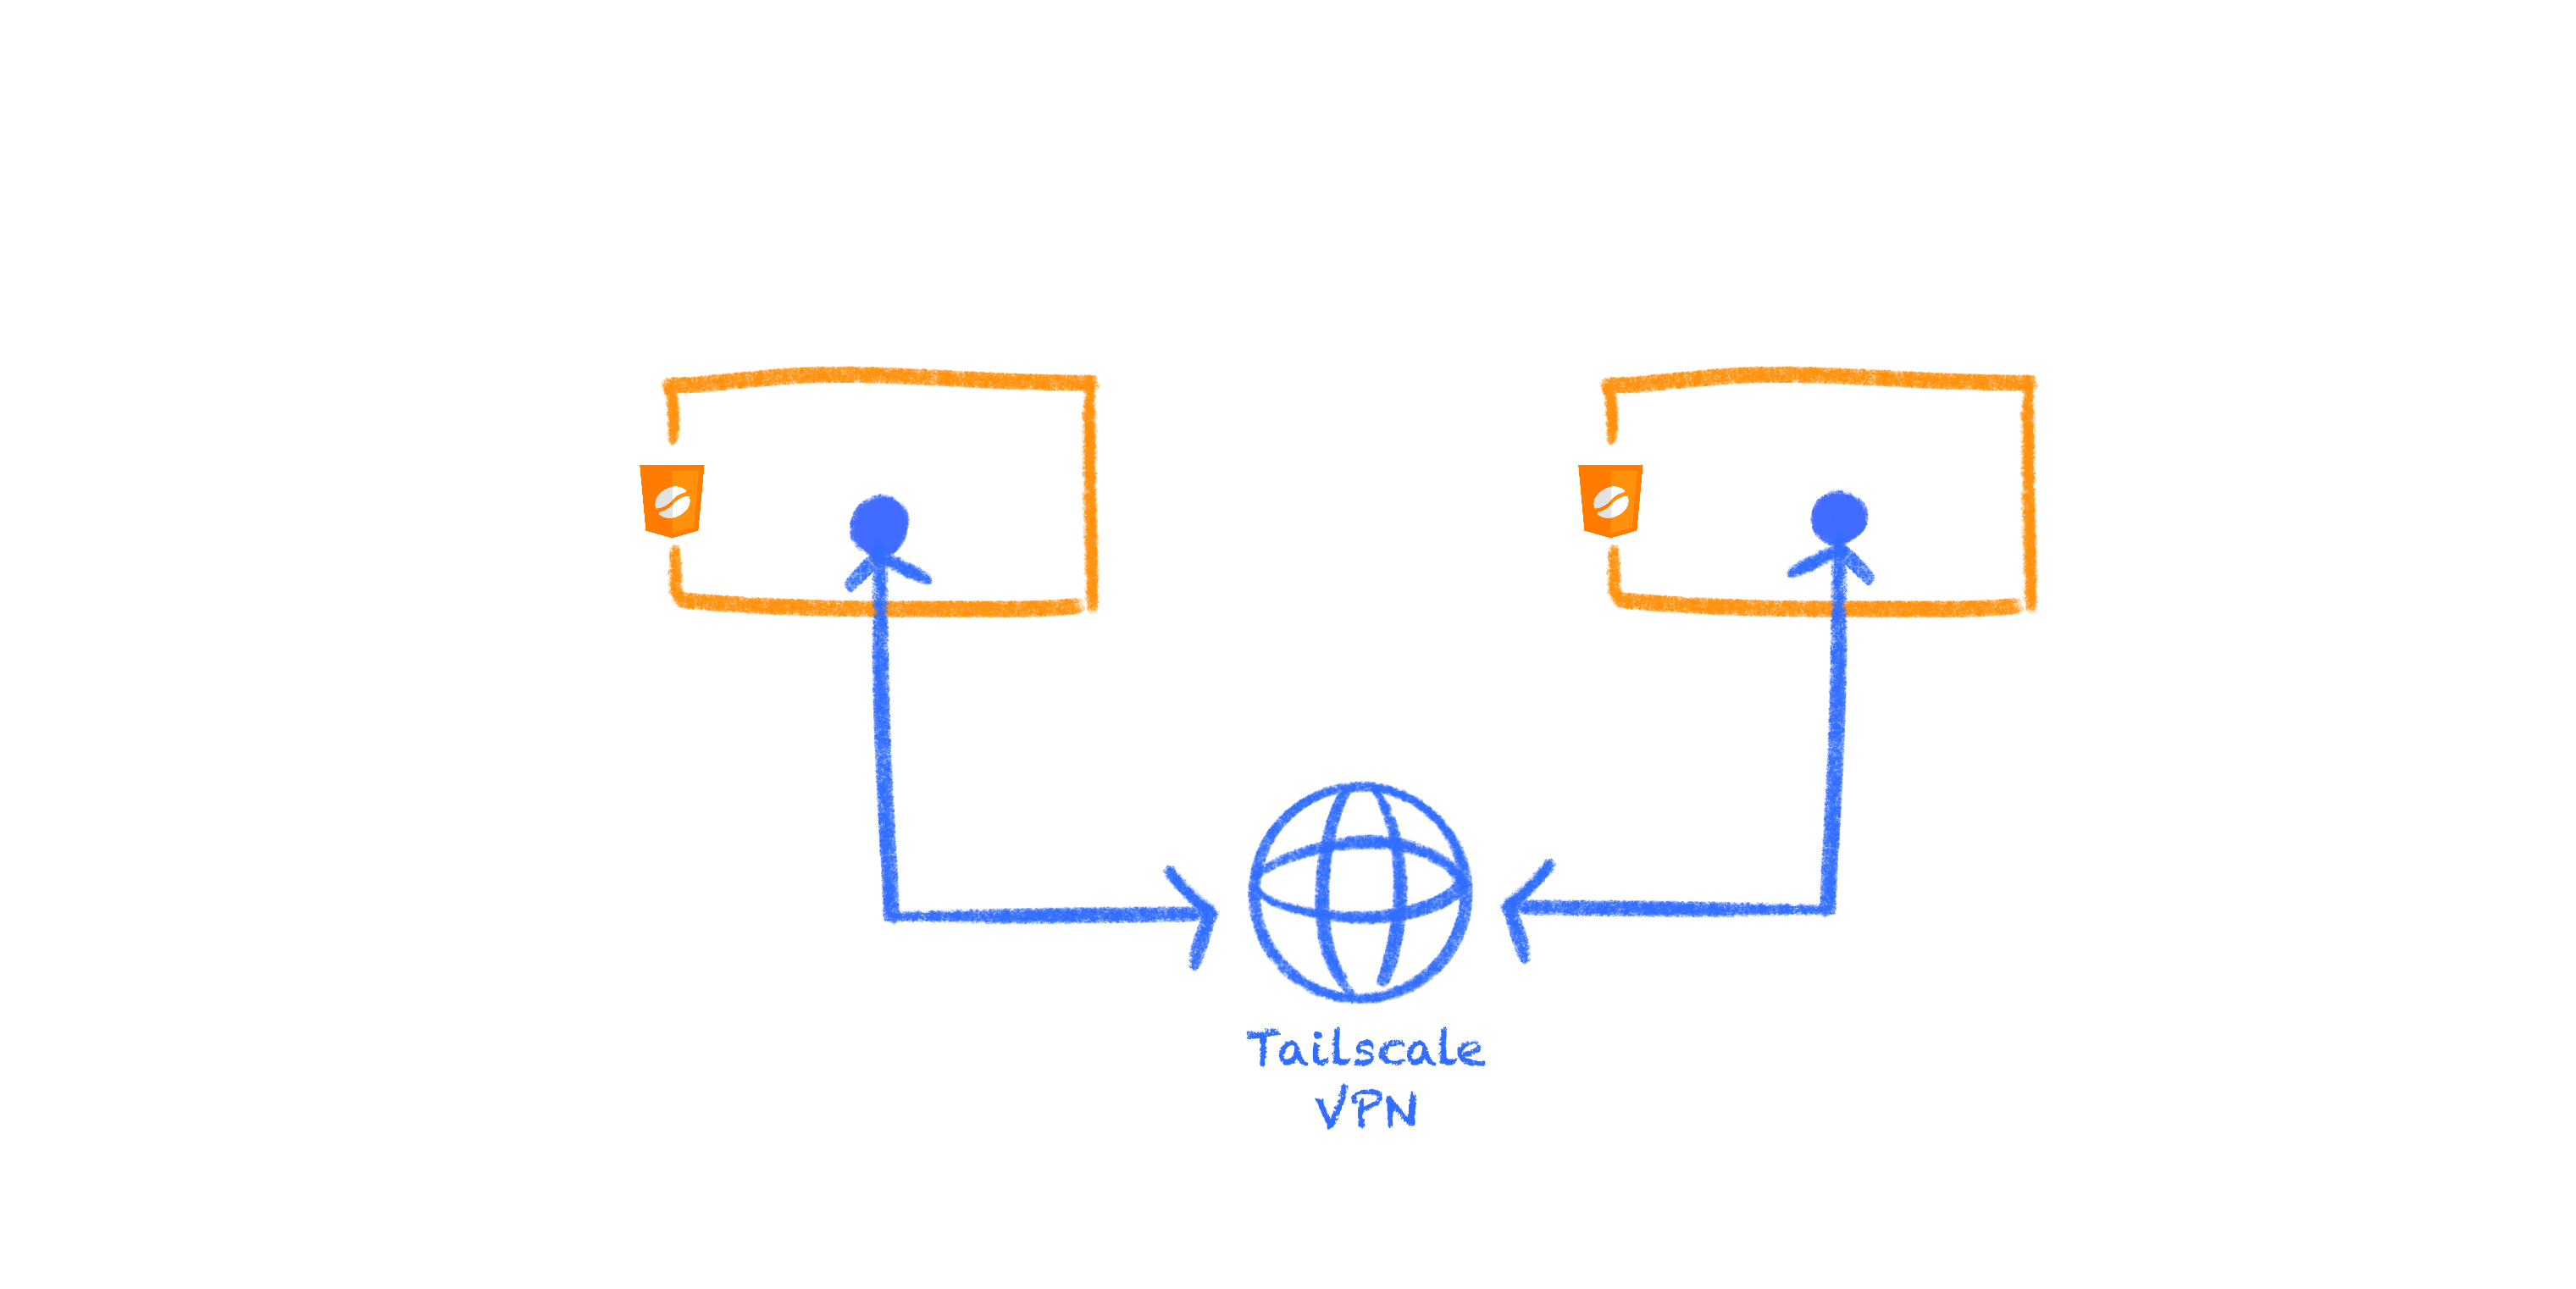
This tutorial runs two Java applications in the browser with CheerpJ, a server and a client, and connects them over TCP with java.net.ServerSocket and java.net.Socket. Browsers do not give web pages access to TCP sockets, so the two applications connect through a Tailscale network.
For how CheerpJ and Tailscale work together, see the Networking guide. The finished project is in the examples/Server-Client directory of the cheerpj-meta repository .
Prerequisites

- A text editor to create and edit an HTML file
- A local HTTP server that supports Range requests, such as
npx http-server - A modern browser such as Chrome, Edge, Firefox or Safari
- A Tailscale account (see step 2)
1. The Java applications
The example is a chat room: a Java server application and a Java client application that exchange messages over sockets. It is based on a TechVidvan tutorial, which explains the source code.
Both applications run in the browser with CheerpJ, with no Java installation.
2. Tailscale
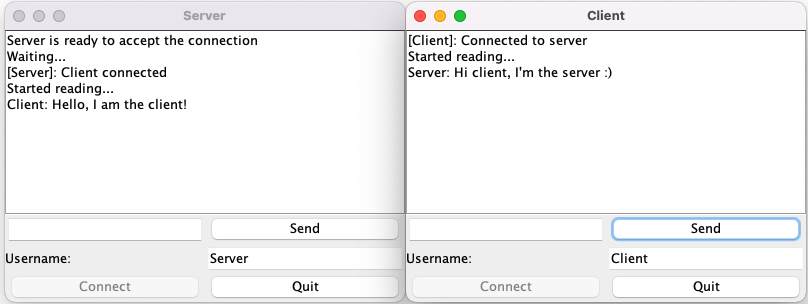
As the Networking guide explains, CheerpJ supports networking other than HTTP(S), such as TCP and UDP sockets, through Tailscale. Tailscale is a VPN based on WireGuard, which CheerpJ reaches over WebSockets.
2.1 Setting up Tailscale
Create a Tailscale network and connect both Java applications to it as nodes. In Tailscale terminology, a node is a combination of a user and a device connected to the network.
- Create a Tailscale account and log in. Creating an account creates a network (a tailnet).
- Generate two auth keys, one for each application, in the Tailscale admin console, or one reusable key. Keep them for later: the applications use them to join the tailnet.
Tailscale auth keysChoose the options in the Tailscale keys menu that suit you. Each time a page starts CheerpJ with a key it adds a node to the tailnet. To keep within your Tailscale device quota, use ephemeral keys or remove unused devices from the admin console.
3. Setting up the project
Create a project directory with two subdirectories, one for the server and one for the client:
- Create the project directory tree:
mkdir -p ServerClientTutorial/{Server,Client}- Put each application’s JAR in its directory:
- Create an HTML file in each subdirectory:
server.htmlinServerandclient.htmlinClient. The project tree looks like this:
└──ServerClientTutorial ├── Server │ ├── Server.jar │ └── server.html └── Client ├── Client.jar └── client.html3.1 The Server application
- Add this code to
server.html:
<!doctype html><html lang="en"> <head> <meta charset="utf-8" /> <title>Server</title> <script src="https://cjrtnc.leaningtech.com/5.0/loader.js"></script> </head> <body> <input type="text" id="ip" /> <script> (async function () { await cheerpjInit({ tailscaleAuthKey: "PasteYourKeyHere", tailscaleIpCb: (ip) => { let el = document.querySelector("#ip"); el.value = ip; }, }); cheerpjCreateDisplay(800, 600); await cheerpjRunJar("/app/Server.jar"); })(); </script> </body></html>What is happening here?
- The
<script>tag in the<head>loads CheerpJ. cheerpjInitinitialises CheerpJ. ThetailscaleAuthKeyoption passes the auth key that the application uses to join the tailnet.tailscaleIpCbis called with the application’s IP address on the tailnet once it is connected. The page writes it into the input field so you can copy it.cheerpjCreateDisplaycreates an 800x600 display that holds all Java windows.cheerpjRunJarruns the server application./app/is the virtual file system mount point for the root of the web server the page is loaded from.
- Replace “PasteYourKeyHere” with the first auth key.
- Serve the page with an HTTP server started inside the
Serverdirectory:
cd ServerClientTutorial/Servernpx http-server -p 8080- Open
http://127.0.0.1:8080/server.htmlin a browser tab. - CheerpJ shows its loading animation, then the server application starts.
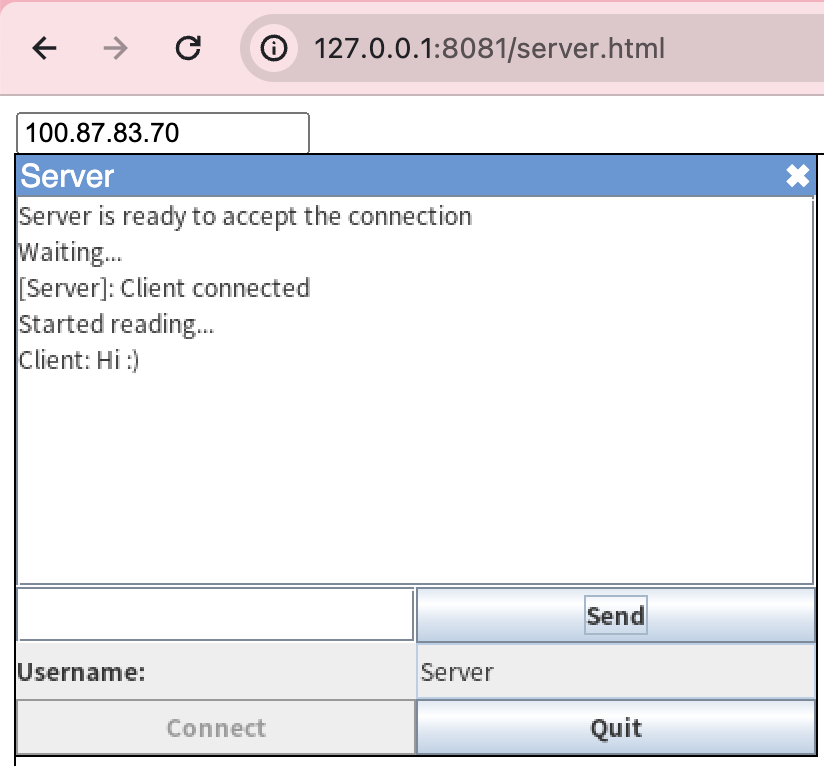
- Once the server is connected to the tailnet, its IP address appears in the field above the display. Keep it: the client needs it to connect. The address is also listed in the Tailscale admin console.
3.2 The Client application
- Add this code to
client.html:
<!doctype html><html lang="en"> <head> <meta charset="utf-8" /> <title>Client</title> <script src="https://cjrtnc.leaningtech.com/5.0/loader.js"></script> </head> <body> <input type="text" id="ip" /> <script> async function start(ip) { await cheerpjInit({ tailscaleAuthKey: "PasteYourKeyHere", }); cheerpjCreateDisplay(800, 600); await cheerpjRunJar("/app/Client.jar", ip); } let el = document.querySelector("#ip"); el.addEventListener("keydown", (e) => { if (e.key == "Enter") { start(el.value); } }); </script> </body></html>What is happening here?
- The page waits for you to type the server’s IP address in the input field and press Enter, then starts CheerpJ.
- The second argument of
cheerpjRunJaris passed to the Javamainmethod inargs. Here it is the server’s Tailscale IP address, which the client connects to.
- Replace “PasteYourKeyHere” with the second auth key.
- Serve the page with an HTTP server started inside the
Clientdirectory, on a different port from the server’s:
cd ServerClientTutorial/Clientnpx http-server -p 8081- Open
http://127.0.0.1:8081/client.htmlin another browser tab. - Paste the server’s IP address in the input field and press Enter.
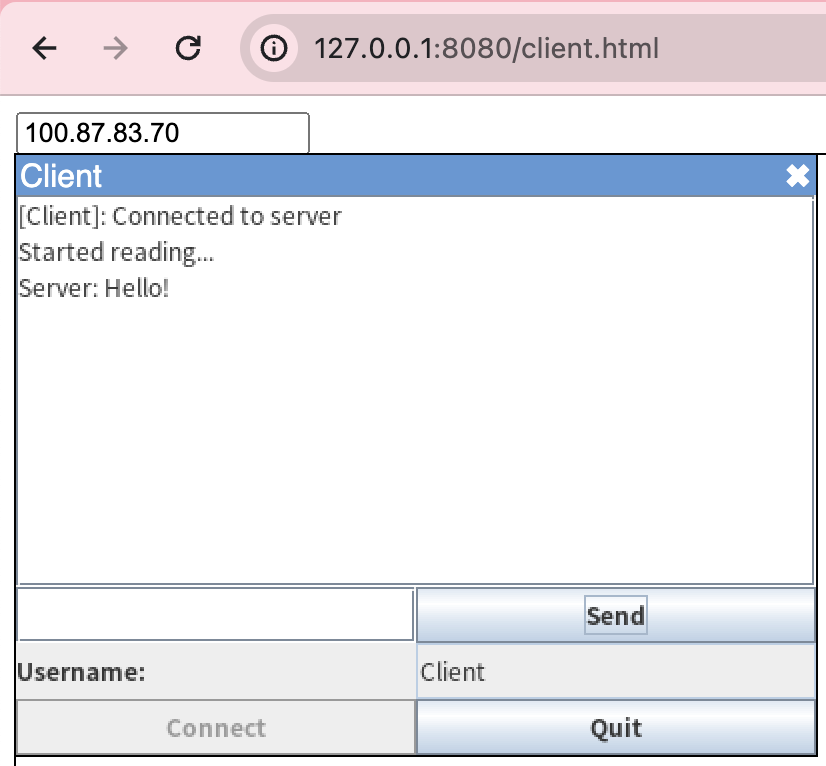
- CheerpJ shows its loading animation, then the client application starts and connects to the server.
4. Final test
With both applications running, enter a username and connect in each of them. Then send messages from one application to the other.
View full source code on GitHub
Credits
The Java applications used in this tutorial belong to TechVidvan. Their tutorial includes the source code. The applications have been lightly edited for this tutorial.